
This was my first time creating a video that had so many different moving parts. Sure, I’ve mashed together movies together, so that they would play in sequence with a quick title slide, but this was a completely different animal.
To start, after deciding on what my project was going to be, I began thinking about how I want to tell my story. What is the story behind my project? What are the elements I want to and have to include?

Some rights reserved by Birgit Henze
To start thinking about this, I first wanted to think about whether I wanted to talk about my project in chronological order or organized by theme. I was doing the posts on this blog in chronological order, as things unfolded, but was that the best way for me to share what I did?
I took my idea of organizing by theme and tested it out as a presentation at 21CL EduLAN in October.
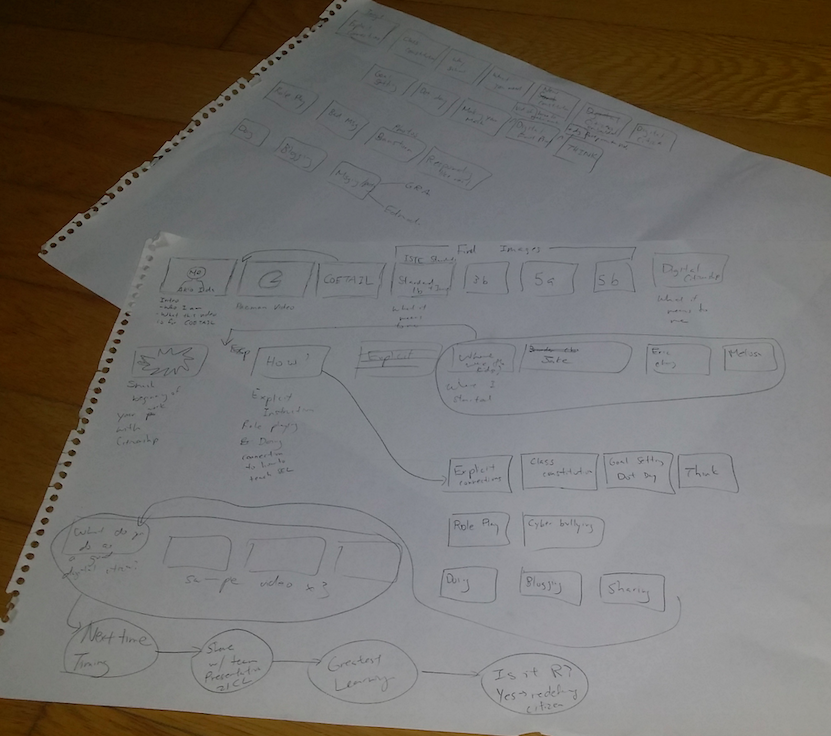
After presenting in this way, I was pretty happy to bring my pieces together as a theme, so I decided to proceed in that way. From here, I drew out a storyboard and typed up scripts for the various sections, knowing that I can edit out mistakes or whatever extra parts I didn’t want later on while editing.
Then, I had another challenge, though I know how I want to organize video, since videos are visual, I couldn’t rely on just me talking, or the words I type up (like in this blog post) to share my thoughts. I wanted visual (moving) ways to capture what I was trying to accomplish in this project.
Somewhere in my mind, I thought of Pac-man and fusion. It probably was the Learning2 workshop I attended where I heard about Common Craft style videos, but I decided to cut out a bunch of shapes and create a stop motion short to embed into my video. Setting up for this was hilarious because I wanted to shoot on a flat surface, and I wanted to use my iPad. I wonder what people who were walking by my classroom thought I was doing.

Adding sound and timing events was a new set of challenges, but I was having loads of fun!
As I began putting the overall video together using iMovie, checking the audio, making sure that my students’ voices could be heard and making sure that the images made sense, i realized that my video became too long.
Here was my problem: though I storyboarded my entire video, I started making clips that I was going to put together to make a final product. Since each video was a separate project in iMovie, I only had estimates on how long each clip was.

When I linked my videos together, and my video was too long, the fun of editing began. What are the things I needed to say? What can I take out? What are things I need so that this video will hold the attention of the viewer?
Watching over my video now, and looking back at the experience of shooting and editing a video, this made me reflect on my practice as well as how I present. When I present at a workshop, I often think about whether what I am sharing is original or important to share, and whether it is good practice or not. When creating a video, I felt like I had to think about those elements as well as whether it was entertaining, will it hold the viewer’s interests. I admit there are parts in this video that are a bit slow, but overall, I think I made it visually entertaining and will hopefully hold the viewer’s attention.
Without further ado, here is my final project video: 21st Century Citizen.

“I always hold the computer like a baby.” Love it. Great project Akio, well done! I totally agree, digital citizenship is much more than just a “unit” and is something that is a part of all our classrooms.
I love how student lead this is! I hope it is a unit that sticks with them, so many good lessons!
Thanks for sharing your process as well as the final product, here, Akio! It’s great to see how you developed your video 🙂